
Your Minecraft host since 2012












Your Minecraft host since 2012
Find your server's panel, your backups and your invoices.
No account yet? Create an account
No bank card required: you only pay when you order a server.
Already have an account? Log in
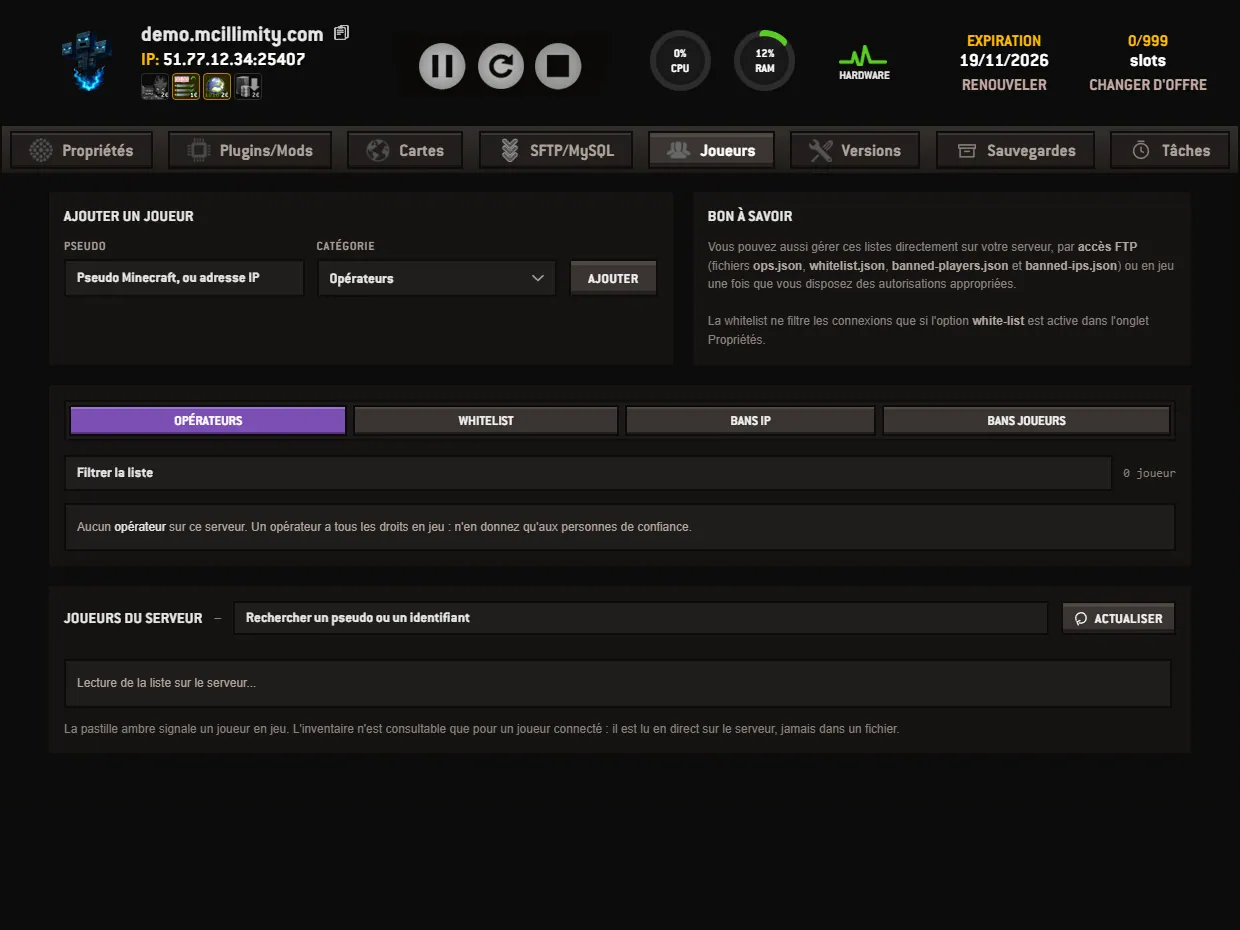
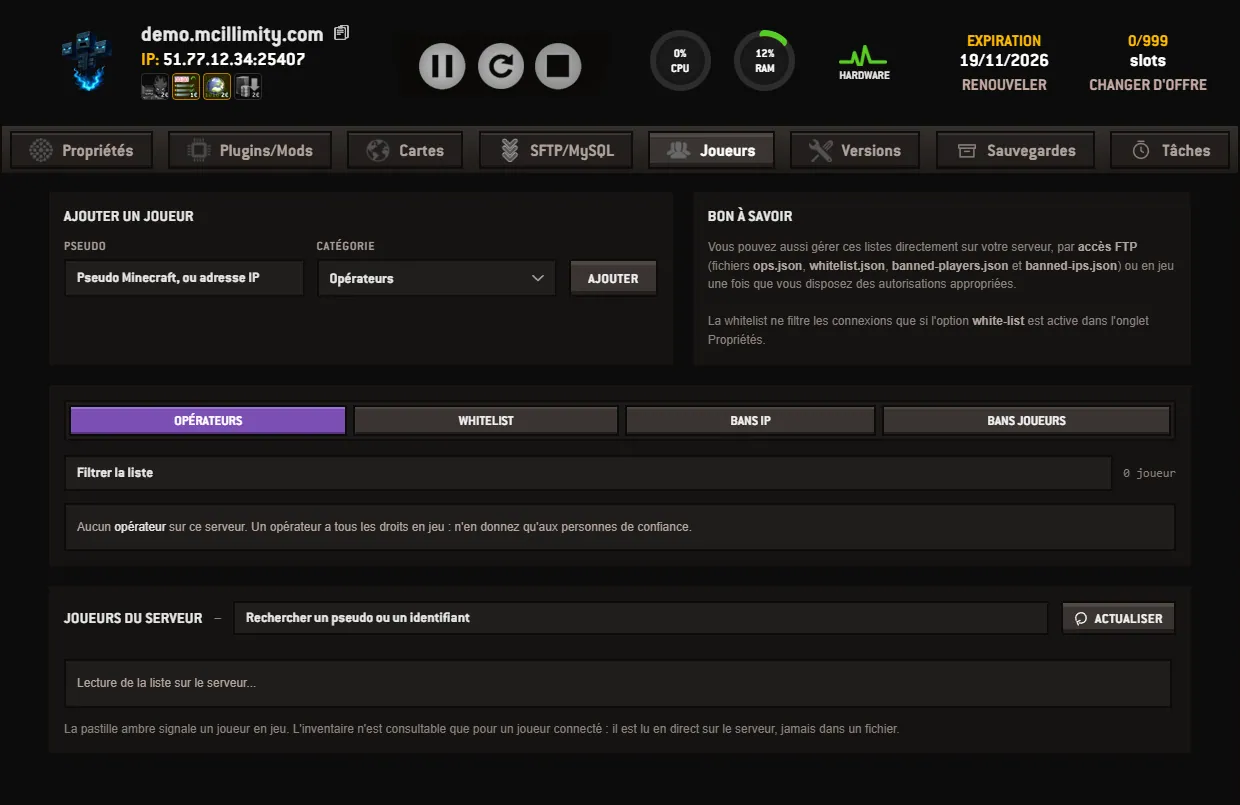
The Players tab of your panel gathers on a single screen everything that concerns the people who enter your server. At the top, four lists and the form that feeds them. At the bottom, the list of the server's players, with their actions.
The first block is called ADD A PLAYER and fits in two fields. In USERNAME, you enter a Minecraft username, or an IP address depending on the list you are targeting. In CATEGORY, you choose that list: Operators, Whitelist, IP bans or Player bans. The ADD button applies the decision.
The four lists do not do the same job:
One point matters before filling in the second list: the whitelist only filters connections if the white-list option is enabled in the Properties tab. The other way round, an empty whitelist with the option enabled closes the server to everyone, you included.
Below the form, the list is browsed through the four tabs OPERATORS, WHITELIST, IP BANS and PLAYER BANS. Each entry appears with its character head, a neutral thumbnail for IP addresses, and the cross on the right really removes that entry from the list. The Filter the list field comes in handy when entries number in the dozens, and the exact count sits next to it.
If your server is stopped, the panel tells you so: these commands go through the console, so the server will be started to apply them. The GOOD TO KNOW block also reminds you of the two other possible paths: FTP access, which opens the ops.json, whitelist.json, banned-players.json and banned-ips.json files, or the in-game route, once the permissions have been granted.
The second half of the screen bears the title SERVER PLAYERS. It gathers those who are in game and those who have already visited: an amber dot marks a connected player. The counter gives both numbers, the search field accepts a username as well as an identifier, and the REFRESH button reads the list again from the server. The identifier shown under the username is copied with one click.
Each row carries its own actions, all preceded by a confirmation: grant operator rights, add to the whitelist, kick from the server, ban the account, ban the IP address, or remove the player from the history. This last action rewrites the server's usercache.json file, it bans nobody.
Finally, the INVENTORY button opens the sheet of a connected player, and of that player only: it is read live from the server, never from a file. There you see their health, hunger and experience, their bag, their hotbar and their equipment. The actions sit on the same window, from Heal to Kill, by way of Hurt, Feed, Starve, Clear effects and the two experience buttons, and a slot fills or empties on click. Each action is a real command: there is nothing to save, and nothing to undo.
The rest of the screens is described on the page the panel, screen by screen. If in doubt, the support team answers in French from the same customer area.
 Continue with Google
 Continue with Discord